Smoking a cigar is more than just an indulgence; it’s a ritual that has been cherished for centuries. To truly appreciate the flavors and aromas of a fine cigar, one must master the art of lighting it correctly. In this comprehensive guide, we’ll walk you through the steps to properly light a cigar, ensuring you get the most out of your smoking experience.
Step 1: Gather Your Tools
Before you can begin, gather the necessary tools:
- A high-quality cigar: Choose a cigar that suits your taste preferences and is properly stored in a humidor to maintain its freshness.
- A cigar cutter: Ensure it’s sharp and clean to make a clean cut.
- Wooden matches or a butane torch lighter: Wooden matches are traditional and provide a clean, neutral flame. A butane torch lighter is also a reliable choice.
Step 2: Cut Your Cigar
The first step in properly lighting a cigar is to cut it. A clean cut ensures an even burn and a good draw. Here’s how to do it:
- Hold the cigar gently but securely.
- Using a guillotine cutter or a cigar scissors, make a swift, straight cut about 1/8 to 1/4 inch from the cigar’s head (the closed end). Be careful not to cut too deep; just enough to remove the cap.
Step 3: Toast the Foot
Toasting the foot of the cigar means gently warming the tobacco at the open end without igniting it. This process helps create an even burn. Follow these steps:
- Hold the cigar at a slight angle with the foot (open end) facing the flame.
- Using wooden matches or a butane torch lighter, ignite the flame.
- Bring the flame close to the foot without touching it, and rotate the cigar slowly. This will ensure an even toast.
- Continue rotating the cigar until you see the foot start to glow red and smoke begins to rise. This process should take about 30-60 seconds.
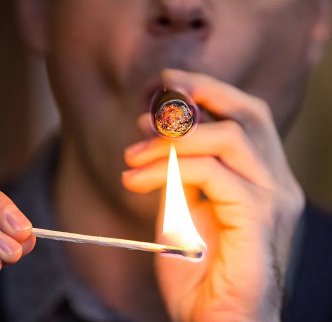
Step 4: Light the Cigar
Once you’ve toasted the foot, you can now light the cigar. Here’s how to do it:
- Hold the toasted foot of the cigar just above the flame, allowing the heat to draw the flame onto the tobacco.
- Rotate the cigar while maintaining the flame just below the foot, ensuring that the entire circumference of the foot is lit.
- Take slow, gentle puffs while continuing to rotate the cigar. This will help establish an even burn and allow the flame to spread throughout the tobacco.
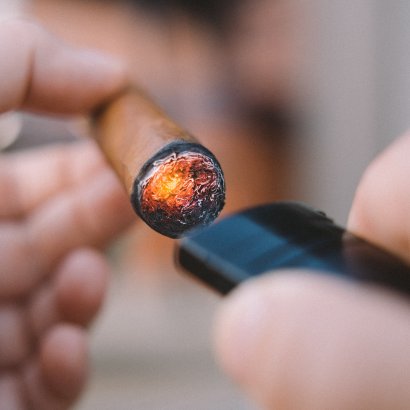
Step 5: Check the Burn
After you’ve lit your cigar, take a moment to check the burn. It should be even, with a glowing ember around the entire circumference. If you notice any uneven spots, gently touch them up by holding the unlit part near the flame until it catches.
Step 6: Enjoy Your Cigar
Now that your cigar is properly lit, it’s time to savor the experience. Take your time, savor the flavors, and appreciate the craftsmanship that went into making your cigar. Remember not to inhale deeply; instead, let the smoke linger in your mouth to fully appreciate the taste and aroma.
Conclusion
Properly lighting a cigar is an essential part of the smoking ritual. By following these steps and taking your time, you can ensure that your cigar burns evenly and delivers a delightful smoking experience. So, the next time you indulge in a fine cigar, remember the art of lighting and savor every moment.